Introduction: The Hidden Journey of a Web Request
Have you ever wondered what happens when you visit a website or make a call to an API? It’s easy to take for granted the seamlessness of a page loading or an API returning data in milliseconds. But beneath the surface, there’s an intricate dance of data traveling across networks, servers, and code to make that possible.
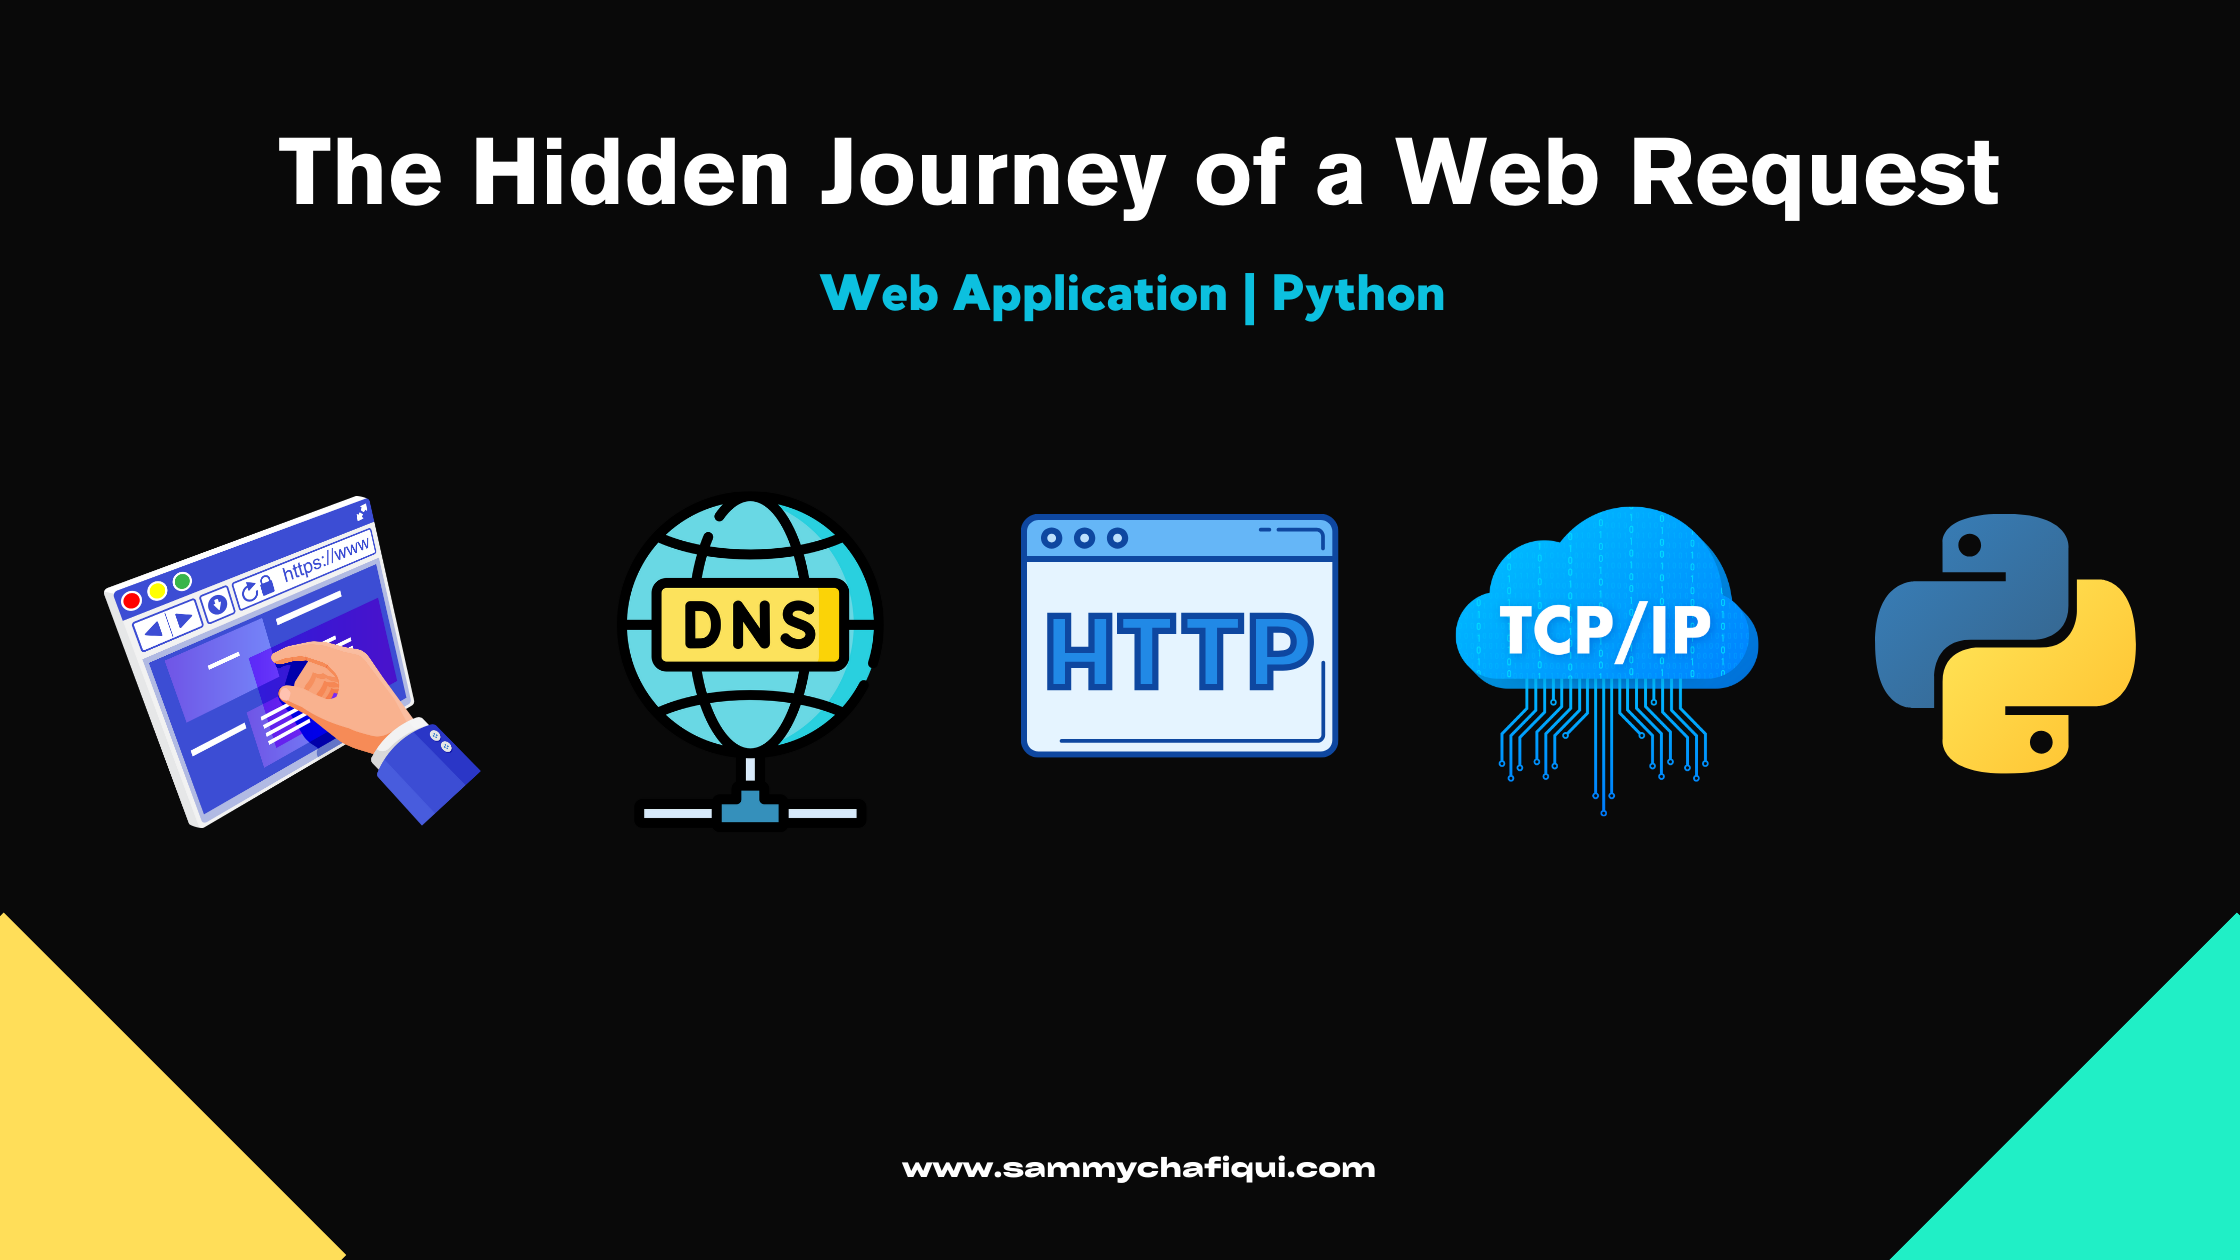
In this article, we’ll explore the full lifecycle of a web request in a Python-based web application. Whether you’re curious about how your browser communicates with a server, what happens behind the scenes with protocols like DNS, HTTP, and TCP/IP, or how frameworks like Django process requests—this guide will break it down for you.
Let’s start from the very beginning—when you hit “Enter” in your browser or send a request from an API client.
From the Browser or API Client to DNS—Finding the Server
When you type a URL into your browser or your API client sends a request, the first step is finding where to send that request. This is done via the Domain Name System (DNS). DNS is like the internet’s address book: it translates human-readable domains (e.g., www.example.com) into IP addresses (like 192.168.1.1) that computers can understand.
Your browser first checks its cache or contacts a DNS server to get the IP address of the server hosting the web app.
Step 2: Establishing the Connection—HTTP, TCP/IP, and the Three-Way Handshake
Now that the browser knows where to send the request, it needs to establish a connection. This is where HTTP (Hypertext Transfer Protocol) and TCP/IP (Transmission Control Protocol/Internet Protocol) come into play.
- HTTP handles communication between the client and the server. It defines how the request should be structured (e.g., GET, POST, etc.) and how the response will be received.
- TCP/IP takes care of transmitting the data reliably. It divides the request into small packets of data that can travel over the internet.
Before any data is sent, TCP requires a three-way handshake to ensure a reliable connection:
- The client sends a SYN (synchronize) message to the server.
- The server responds with SYN-ACK (acknowledgment).
- The client completes the process with an ACK, and now both are ready to transmit data.
Step 3: Transmitting Data—How Packets Travel Across Networks
Once the connection is established, the client (browser or API client) starts transmitting the HTTP request in packets. These packets move through a network of routers, switches, and gateways before reaching the server hosting your Python web application.
- IP (Internet Protocol) is responsible for routing these packets, making sure they travel across the most efficient path in the network.
- If any packets are lost in transmission, TCP ensures they are re-sent, guaranteeing that the entire request reaches the server intact.
Step 4: Receiving the Request—The Server’s Role
Once the server receives the packets, it reassembles them into a full HTTP request. Here’s where things start to get interesting.
The server will have a web server running—like NGINX or Apache—which is responsible for managing incoming HTTP requests.
- NGINX is particularly popular because it can handle a high volume of concurrent connections efficiently. It acts as a reverse proxy, handling the HTTP request and forwarding it to the next layer.
Step 5: Enter WSGI—The Bridge Between NGINX and Django
For Python web applications, we need something that can translate these HTTP requests into something Python can understand. This is where WSGI (Web Server Gateway Interface) comes in.
- WSGI is the standard for Python web applications. It acts as the middleman, taking the HTTP request from NGINX and handing it over to your Django application to process.
At this point, the request is ready to be processed by your Python code.
Step 6: Django Takes Over—Processing the Request with Python Code
Now that WSGI has passed the request to Django, the framework starts to work its magic. Here’s what happens next:
- Routing the Request: Django checks its URLconf (URL configuration) to match the incoming request to the appropriate view function.
- View Logic: Once it finds the right view, Django executes the Python code in that view to handle the request. This often involves querying a database or performing some form of logic to gather data.
- Database Interaction: If your view needs to pull data from a database (e.g., PostgreSQL, MySQL), Django uses its ORM (Object-Relational Mapping) to execute queries and fetch the necessary data.
- Memory and CPU Usage: Behind the scenes, your Python code is utilizing the server’s memory and CPU to process this request. If your server is optimized with enough memory and computing power, these processes happen swiftly.
- Response Preparation: Django then prepares a response, which could be an HTML template (for web pages) or JSON (for APIs).
Step 7: Sending the Response—Packaging and Returning Data to the Client
Now that Django has done its job and generated a response, it’s time to send it back to the client. This involves a reverse of the process we went through earlier:
- Django hands the response to WSGI, which then passes it back to NGINX.
- NGINX takes the response, packages it, and sends it back over the network. Again, TCP/IP splits this data into packets and transmits them across the internet.
- The client (browser or API client) reassembles the response packets to form the complete data, whether it’s an HTML page or JSON.
Step 8: Final Step—Rendering the Response in the Browser or API Client
Once all the packets arrive, the browser or API client renders the response:
- If it’s an HTML template, the browser will display the webpage, including any CSS and JavaScript resources.
- If it’s a JSON response, the API client will present the data in its raw form or format it based on the application’s design.
Why This Matters: Best Practices for Faster Web Applications and APIs
Understanding the full lifecycle of a web request, from browser to server and back again, is essential if you want to build fast, efficient applications. Here are some best practices you should consider implementing:
- Optimize Your Database Queries: Use Django’s query optimizations, such as
select_relatedandprefetch_related, to minimize the number of queries you make. - Enable Caching: Both in Django and NGINX, use caching to store frequently requested data, reducing the need to hit the database for every request.
- Compress Responses: Enable gzip or Brotli compression in NGINX to reduce the size of the responses sent to the client.
- Use Connection Pooling: Reuse database connections rather than opening a new one for every request. This can reduce overhead and speed up your app.
- Load Balancing: If your app is handling a lot of traffic, set up load balancing with NGINX to distribute requests across multiple servers efficiently.
Conclusion: Mastering the Request-Response Cycle for Better Web Applications
Understanding how a Python web application processes a request—from DNS to TCP/IP to Django—gives you the knowledge to build faster, more efficient web apps and APIs. Every decision you make in your stack affects performance, from how you set up NGINX to how your Django views query the database.
By mastering these basics, you’ll be well-equipped to build optimized applications and demonstrate your deep understanding to future employers and clients alike.


